Showing posts with label craft glue. Show all posts

Friday, 3 February 2017

Art Break - Party Peacock Tail

A little while ago, I had a bit too much to drink at a party and (loudly and repeatedly) announced that I was a peacock.


Unfortunately, my bbf was there and she wont let me live it down.

So why not embrace it?

First we need a base for our fan tail. I used a piece of cardboard and painted it black.


Then we add the feathers.


SO MUCH GLUE!

I cut the feathers to different lengths to make it look fuller.

Then we need a way to attach it. I chose ribbon for this.

End result:


Verdict: PU1 loves it! I can't wait to wear it to a party!

Wednesday, 12 October 2016

Art break -  The World's Creepiest Art Project

I unfortunately started this before I was blogging, so I don't have a lot of early photos.
This is an acrylic/ watercolour paint on recycled board.

This was inspired by a documentary I was where someone had preserved a lock of Beethoven's hair, which was then used to show he was exposed to high levels of lead during his life, possibly leading/contributing to his illness.


So I thought, what could I create that would use part of my body? Something with my hair, my DNA. 
I don't care that it is creepy.
That adds to its interest.

I painted a image of myself as a mermaid, on a rock.
The hair is my hair.
Her eyelashes are hairs from my leg (bulb attached).
Her tail is my skin (from my feet - don't worry, I didn't hurt myself harvesting this).
Her scales are my nails.
The seaweed next to her is also some of my leg hair (bulb attached).

The nails took a while to collect up.
Here is the painting before the scale adding began:


Here are the nails:


Let's remove that nail polish:


And paint them in a uniform colour:


Blu-tack helps a lot!

1207 Tinseltown

785 Matte Pearl Glaze

Avon Opal top coat

Done!

And we start gluing them on slowly, a few each day:


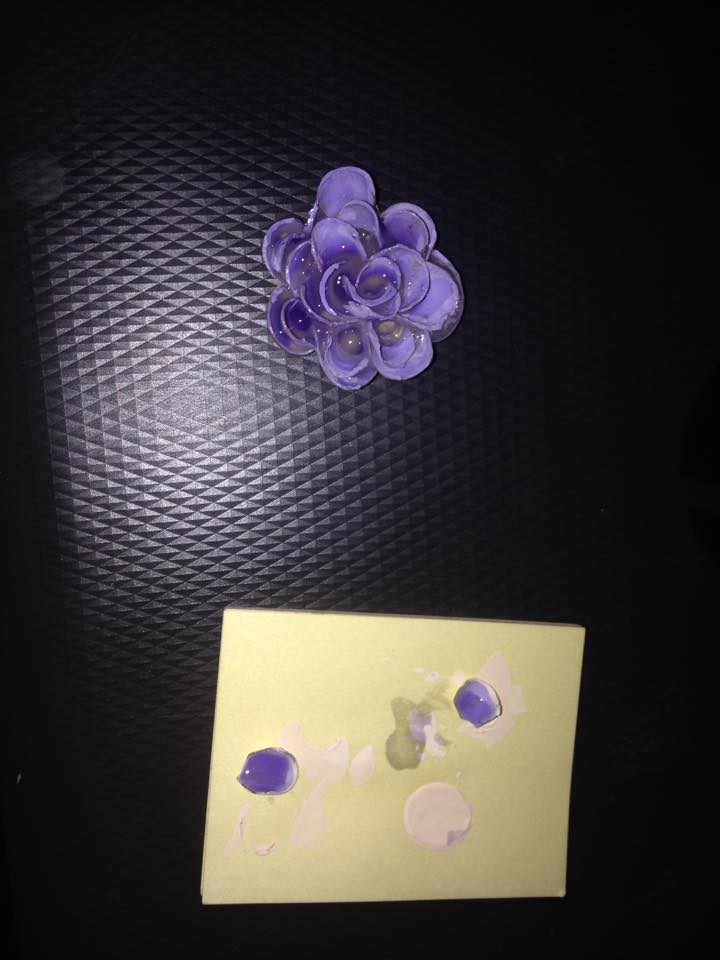
I had some left over nails so I made a flower and a oyster.


I even put a tiny pearl in it!

And the final piece:


*I have something in mind to take the place of the oyster (a human pearl of huge sentimental value, generated by a dear friend) but I have to wait to see if I am ever the lucky owner of this particularly precious piece.
If I acquire it, the oyster will simply be moved to the rock.

Wednesday, 20 July 2016

Art break - Pumpkin Carriage for Pumpking

Whilst on my recent travels, I went to visit my friend Pumpking (it isn't as dirty as you may think, he just really like pumpkins).
So I thought I would bring a vision I had for his home-grown pumpkins to life.

To begin this little art journey, we need some air-dry clay and clay tools.

I don't have a kiln and I don't think I want one.

The centre needed to have good structural integrity while being able to support windows and a doorway. To do this, I molded the core in two parts using yogurt containers as molds.

The bottom one has the beginnings of the seats inside the carriage.

Once dry enough, they could be freed from the molds to dry fully. One advantage of air dry clay is that it shrinks as it dries, naturally pulling away from the sides of the molds.

This time I was smart enough to put down baking paper to limit the mess I made!

Then the two parts just had to be glued together.

This one looks kind of dirty atm...


Just craft glue will do.
Together!

To create the texture of the pumpkin surface, I stuck on rolled 'worms' of clay. Like a prize ham I did not take a photo of this bit. I also added a stem and began to paint it all.
I used acrylic paint in various shades of orange and green.

See the 'worms'?


Done!

Then we have a pumpkin!
Now we need the wheels and frame. For that I used floral wire. It is green and very easy to work with.
I also used a green ribbon to make the leaves.


I put craft glue on the ribbon to make it stiffer (hur hur hur) and cut it into leaf shapes.

Big ones and little ones!

I then added a little interest by painting the centres light green...


... and adding some veins.


These leaves were then glued to the frame and the whole lot glued to the pumpkin.

Final result:

On the road!

In nature!

Verdict: I believe he really appreciated it :D